Multi-terrain boat trailer for RC car
What do you do when you have an amazing man-made lake right out-front of your doorstep? You get an RC boat, of course! But then another question arises: how would one get that boat into the lake in style? (Because carrying it is lame.) Simple! Get an RC truck and create a boat trailer for it! …With this goal in mind, my three and a half-year-old son Danil and I got to work.
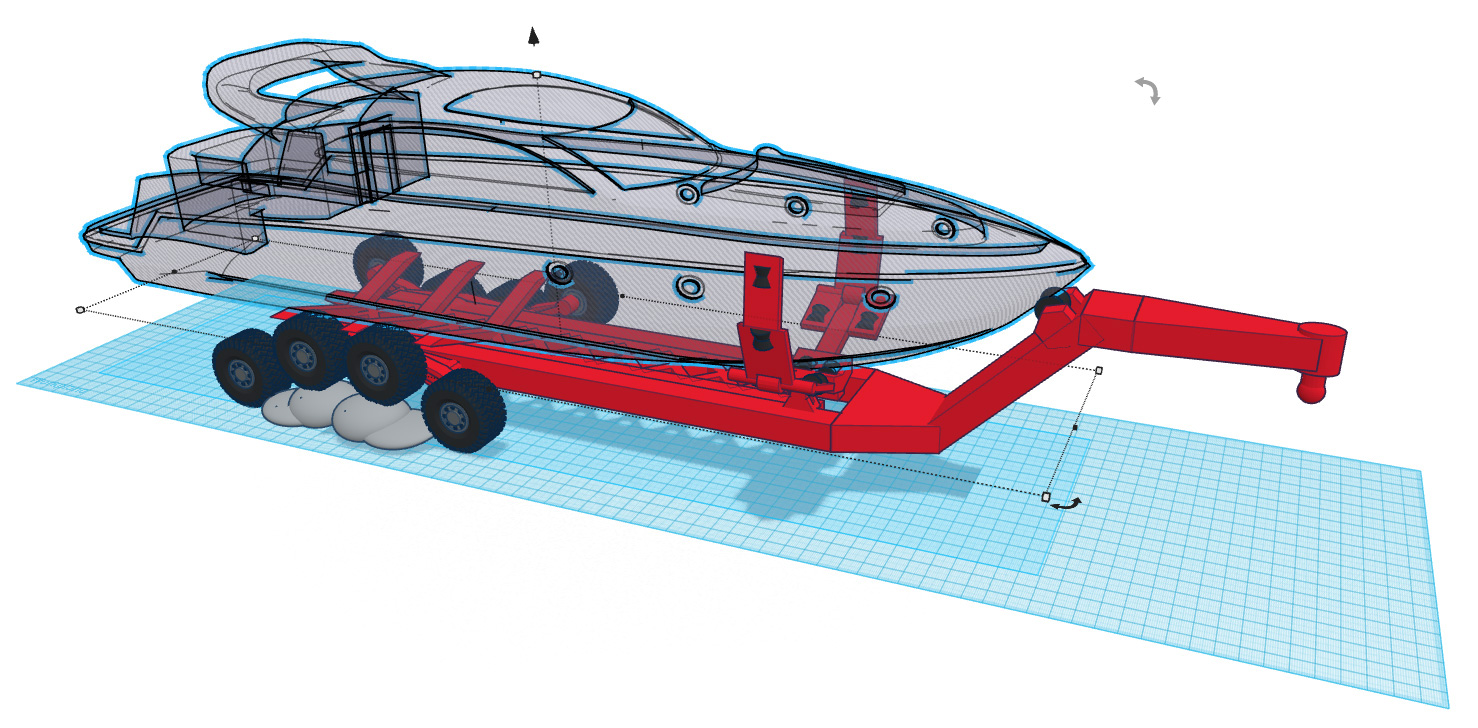
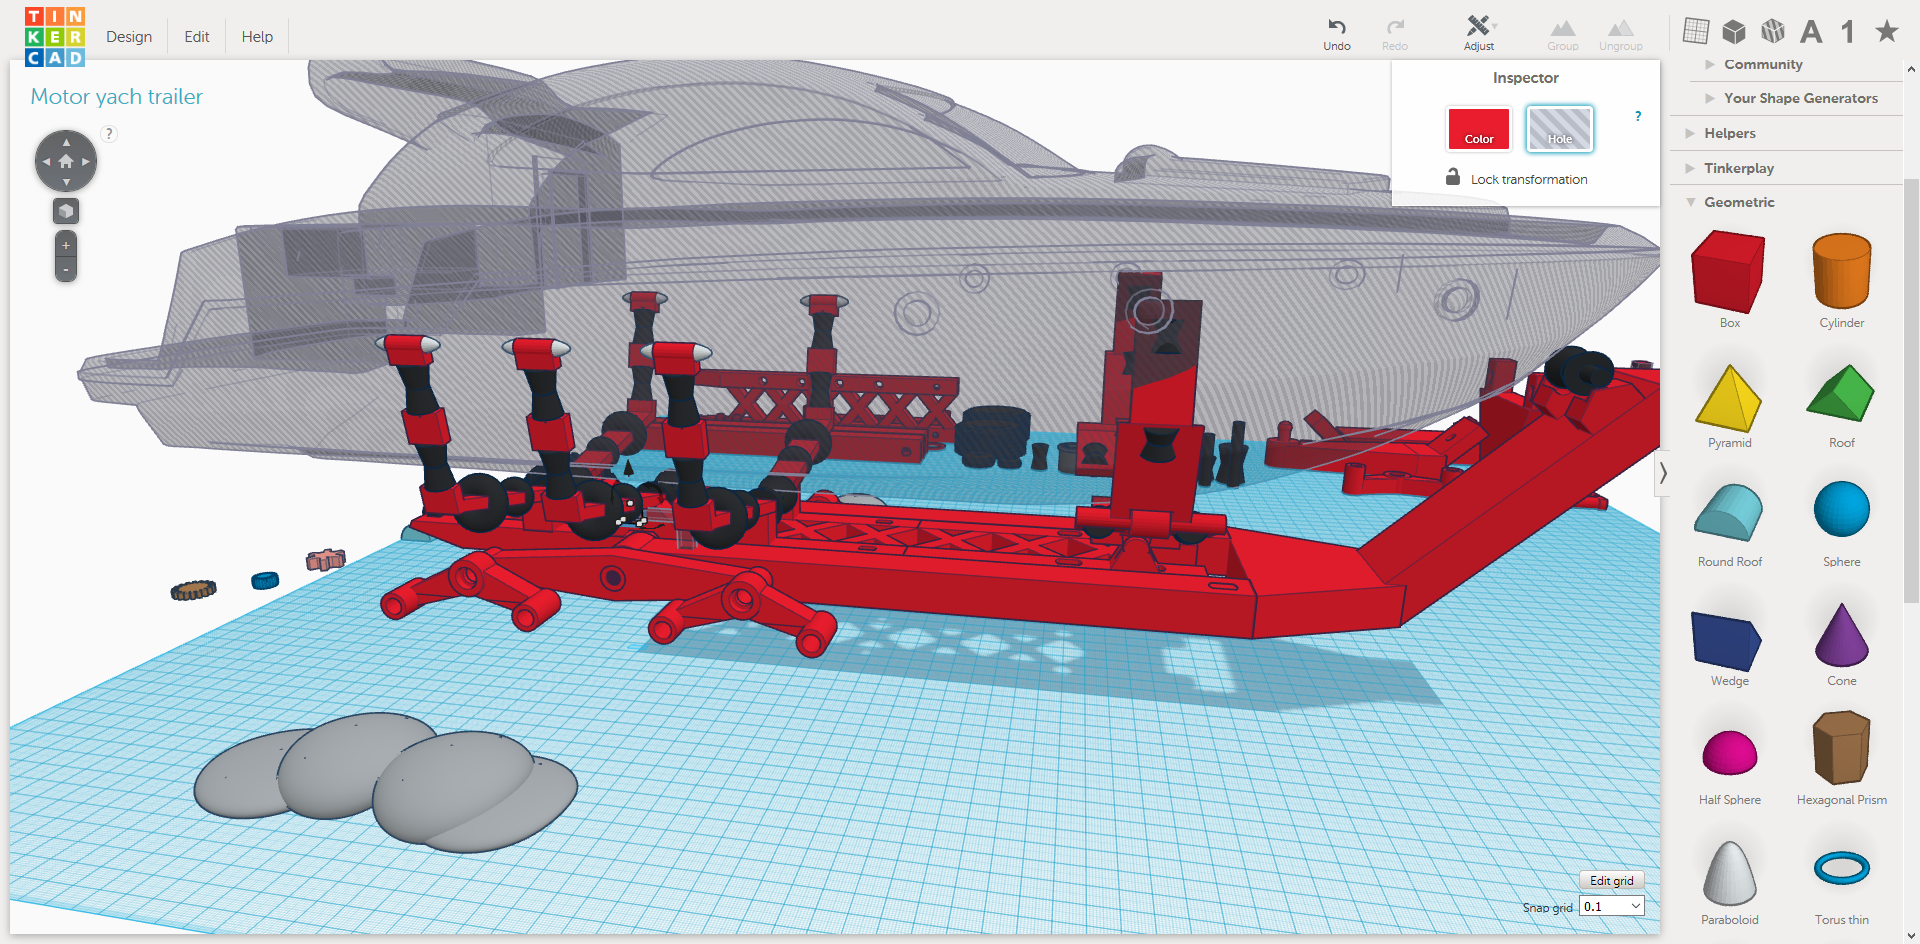
Early design stages of the project, using Tinkercad.
Naturally, we’ve used Tinkercad to design the trailer. Thanks to its unbelievable simplicity, this let us focus on solving challengess at hand, rather than figuring out how to use the app… And a few major challenges overcome, we had to!
Danny testing out the rocker-bogie system over the rocks – it’s a success!
One of the most obvious requirements was getting the boat to its launch destination in one piece…
The trailer had to be stable enough under the worst of terrain conditions in order for the yacht not to tip over. Seen above is the rocky terrain leading up to the boat launch. If you take scale into consideration, then you quickly realize that you're transporting a 44+ foot motor yacht, weighing in at ~30 tons over 1-2 foot tall rocks… Crazy!
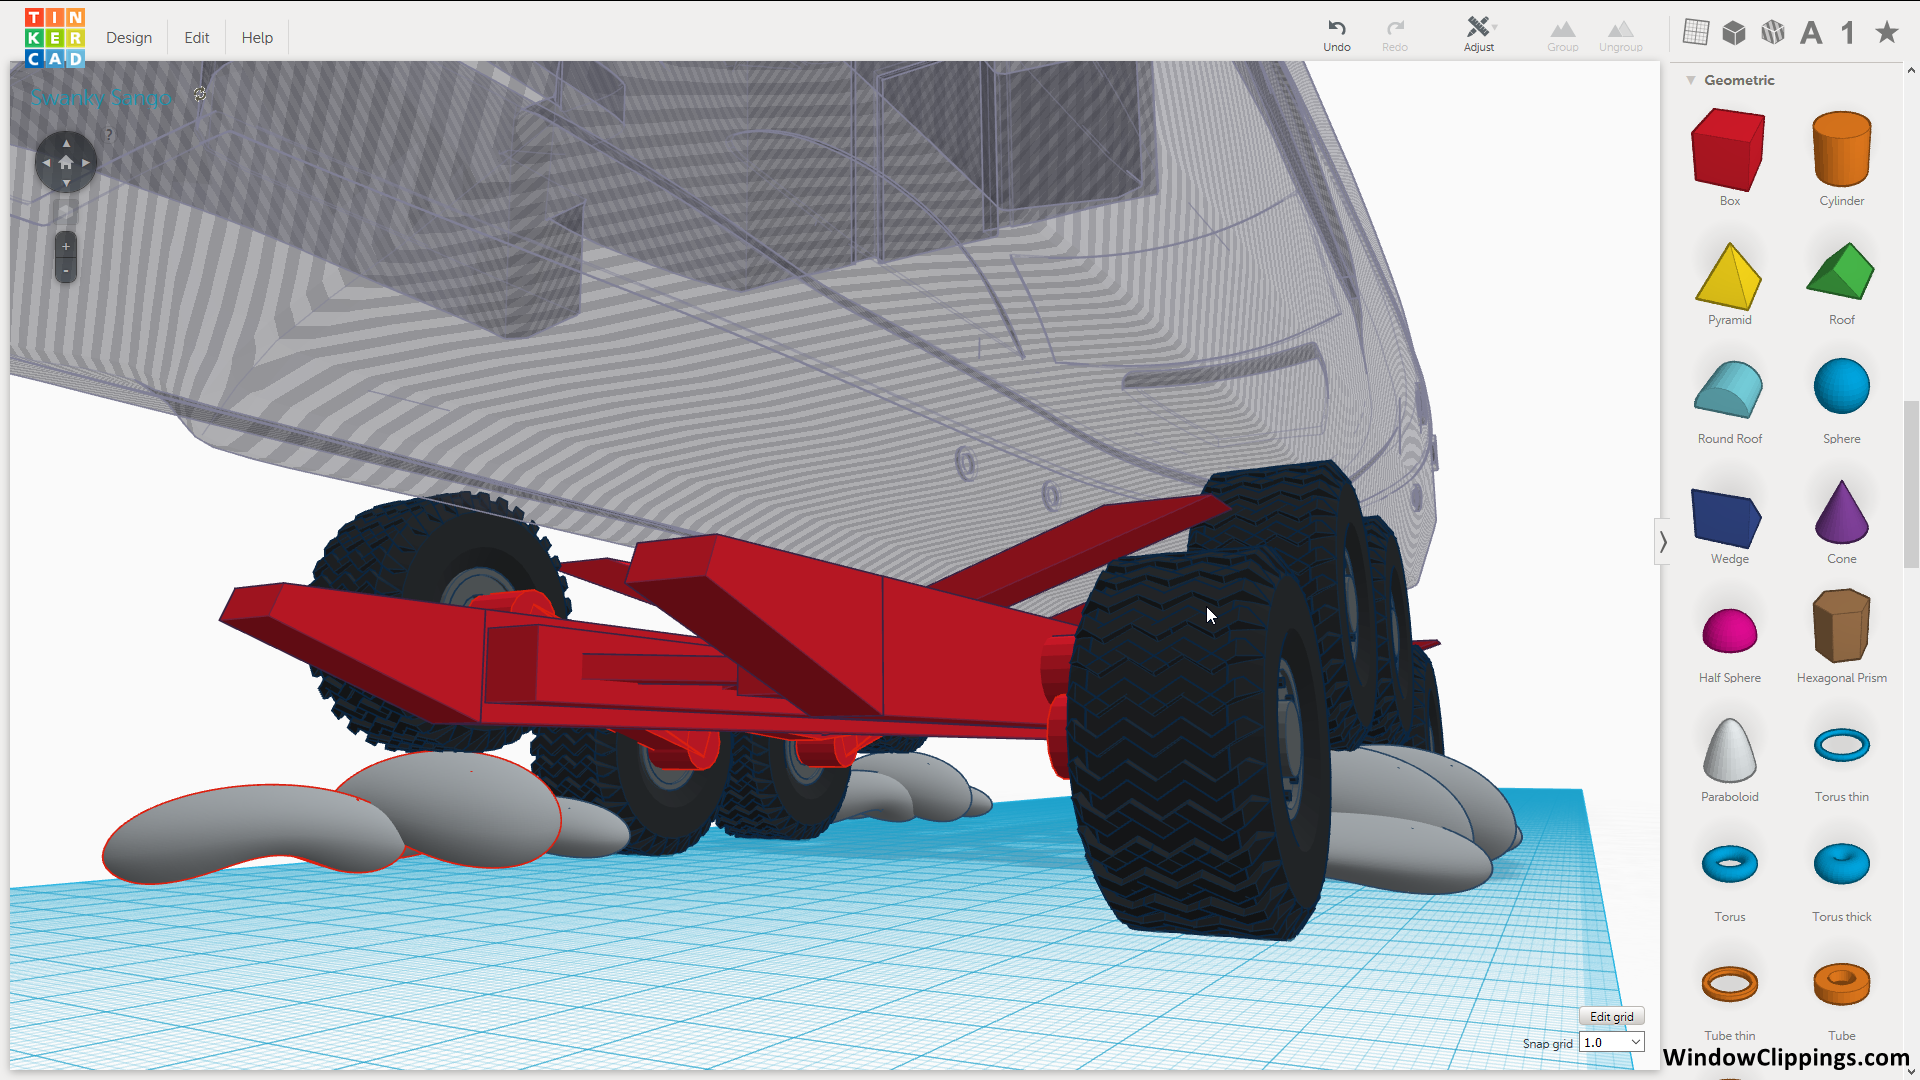
The trailer design had to reflect just that. A minimalist, self-balancing/leveling 8-wheel rocker-bogie system was created to allow the trailer to scale objects (such as rocks) that are up to twice the wheel's diameter in size, while keeping all eight wheels on the ground – and the yacht/trailer leveled.
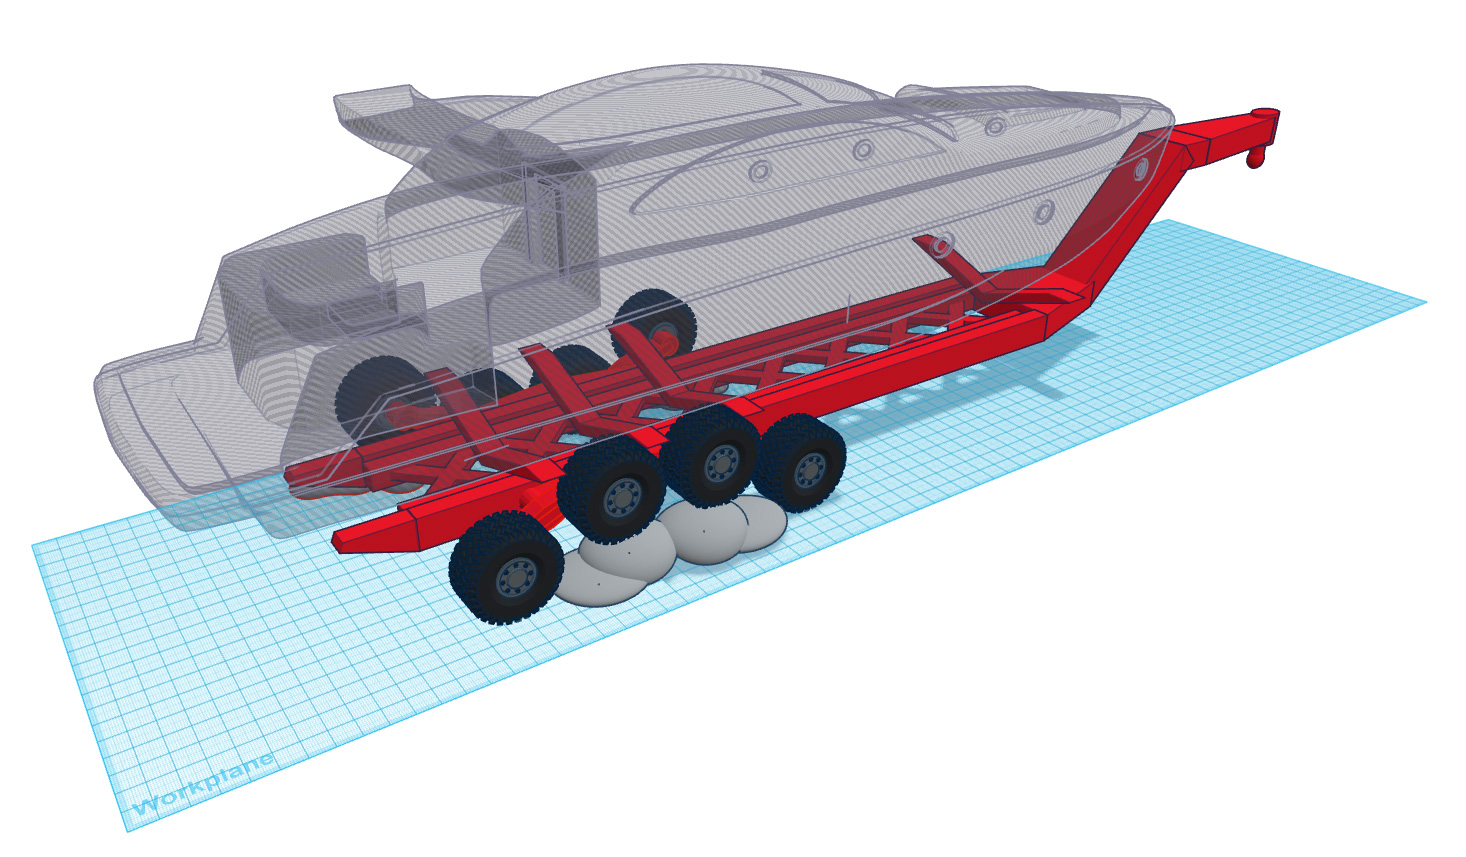
Wheels were specifically positioned as close together as possible to help the trailer turn better, and also to prevent it from easily high-centering itself.
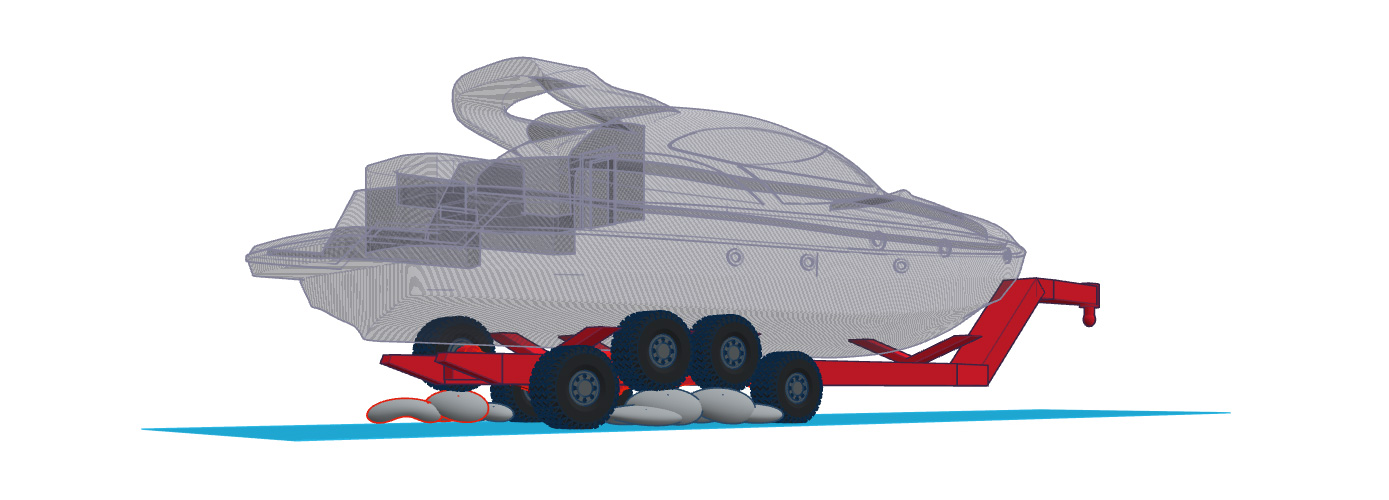
Foldable, oversized [side] support structures ensured that the yacht did not slide off the trailer in case it became unleveled. The extra-wide wheel base also helped in this regard.
Another challenge to overcome was getting the yacht in and out of the water – without coming in contact with it. A system of integrated rubber roller wheels helped the boat glide over the surface of the trailer with ease, while the winch, located at the front top-most position of the trailer arm, pulled the boat out of the water. This particular location was, again, chosen on purpose, as it gets electronics as far away from the water as possible. Main rollers soften things out as the yacht is loaded onto the trailer with the help of small springs.
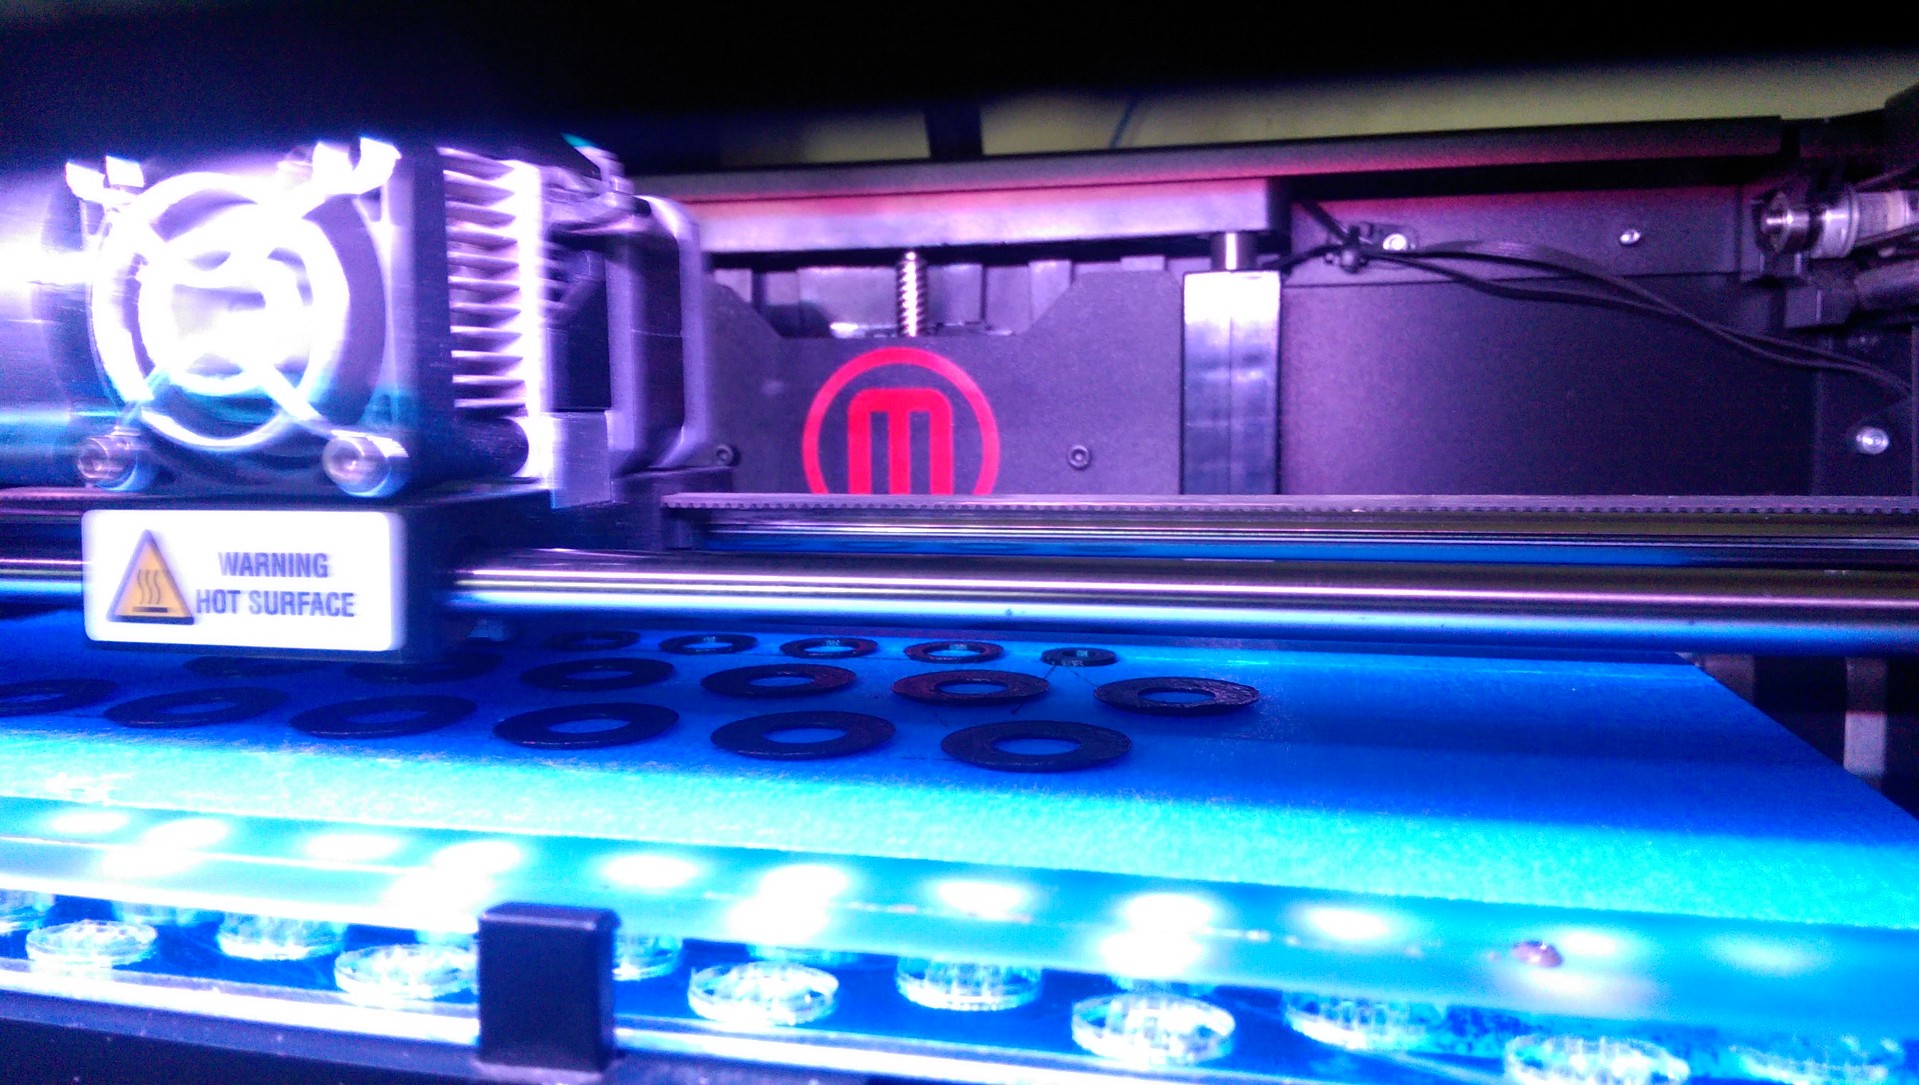
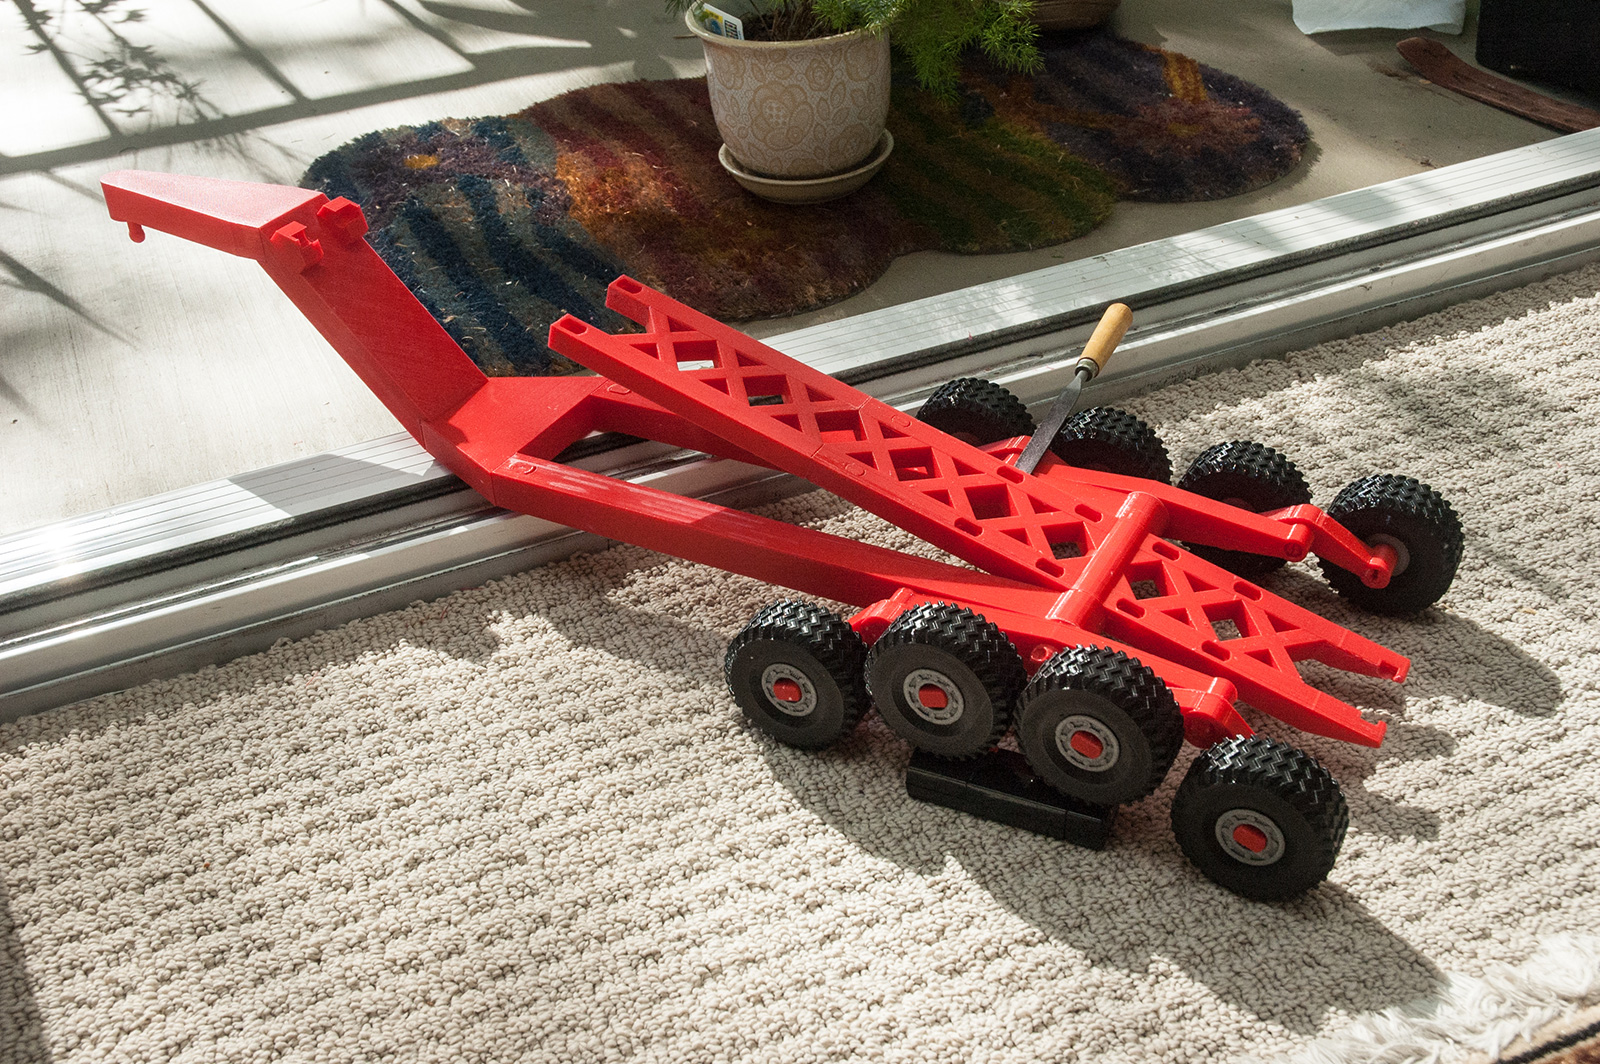
The nature of this project was such that anyone could easily replicate it on their own 3D printer. This, in itself, created several challenges we had to work around – mainly of how to fit a 680+ mm model on a 285 mm print bed of a MakerBot Replicator 2.
As a result, the trailer was split into sections, which, once printed, would join and lock in place with the help of removable pins. At the same time, this allowed for the trailer to be disassembled in case it had to be stored or moved.
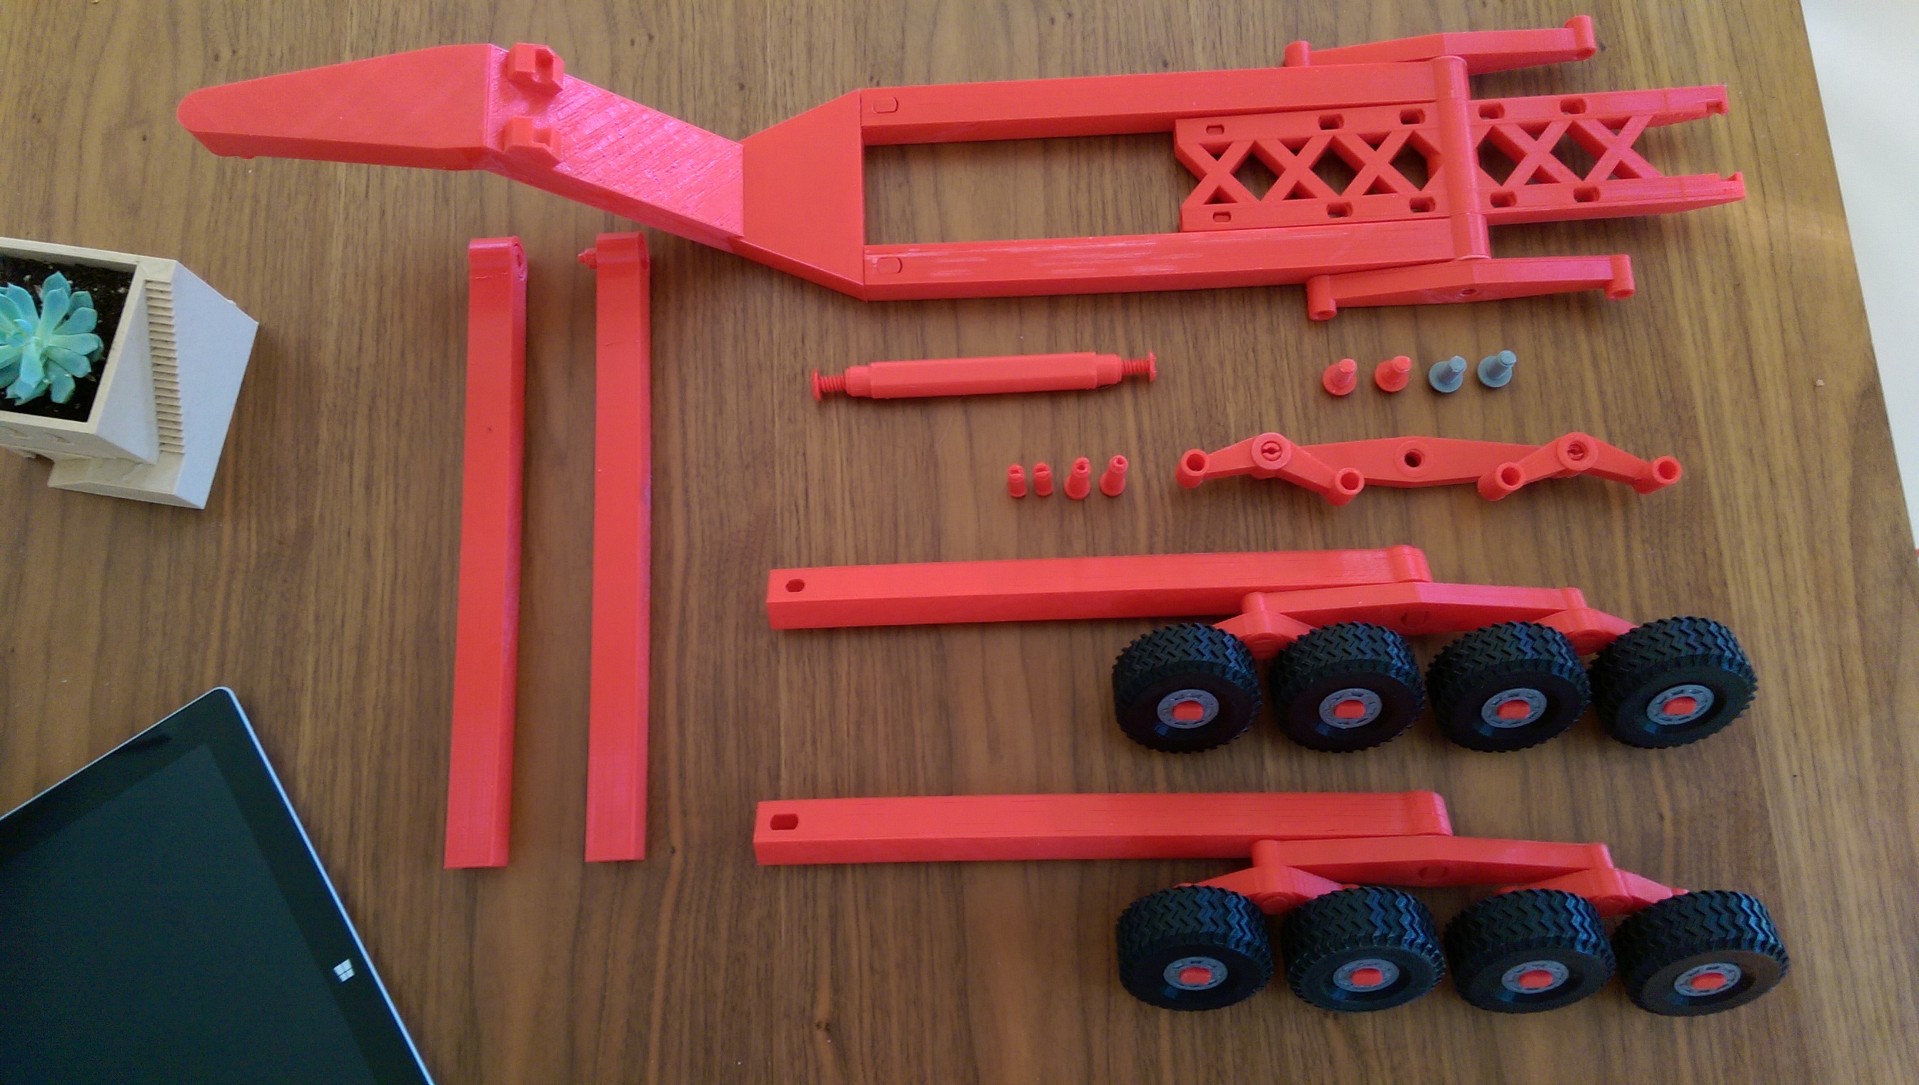
Practice makes things perfect… The more you design, the less iterations it takes you to get to the final outcome. Seen above are some bits and pieces that have gone through a few iterations. Some systems required no changes, while others required no more than 2-3 passes.
This is the area where 3D printing truly shines, thanks to the short amount of time it takes to create revisions. This also happens to be one of the most exciting parts of any project – the iteration!
Similar approach was used throughout the entire trailer design – that is, you can easily assemble and disassemble it with the help of pins or 3D printed bolts – without requiring any tools.
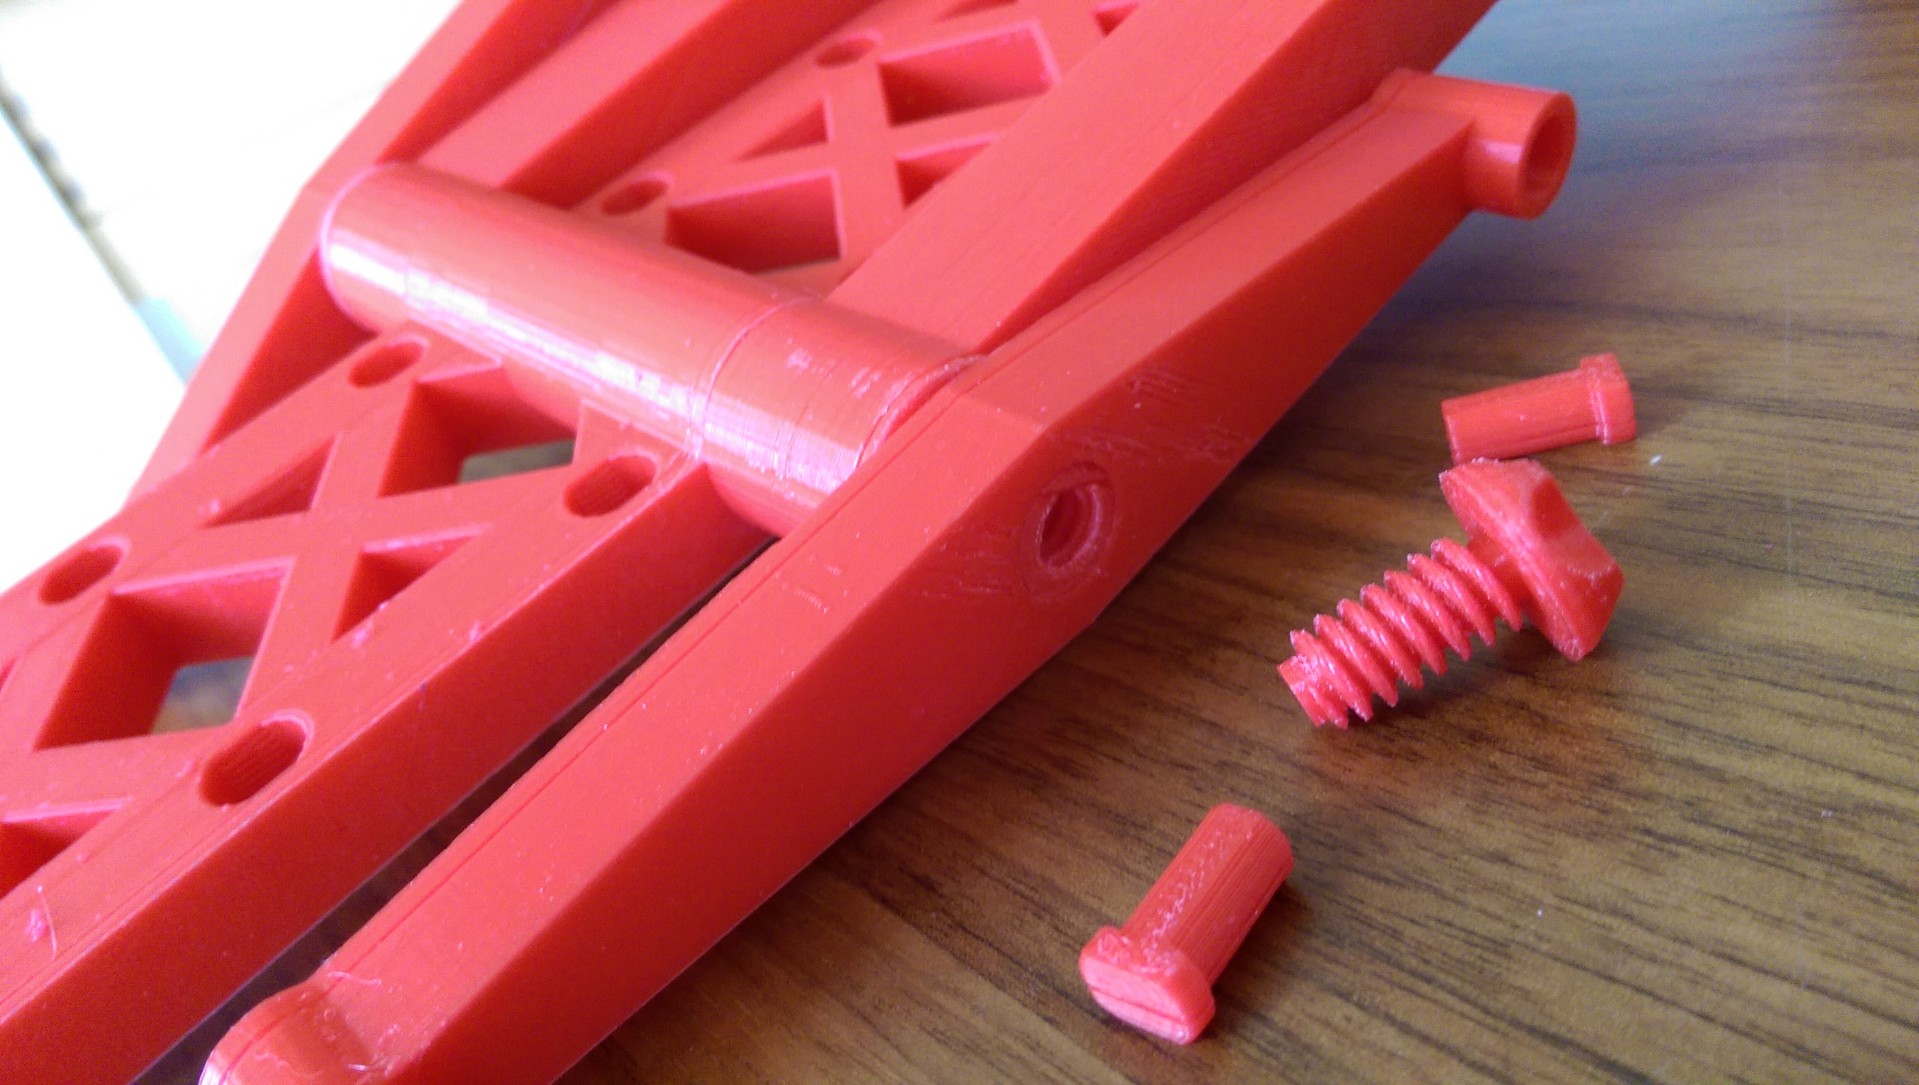
During 3D printing, some of the parts required supports. Autodesk's Meshmixer was used to generate custom support structures which can be seen in the photo below. Meshmixer will either auto-generate these for you, or you can define areas that should be supported with just a click of a button. It's free – you should get it!
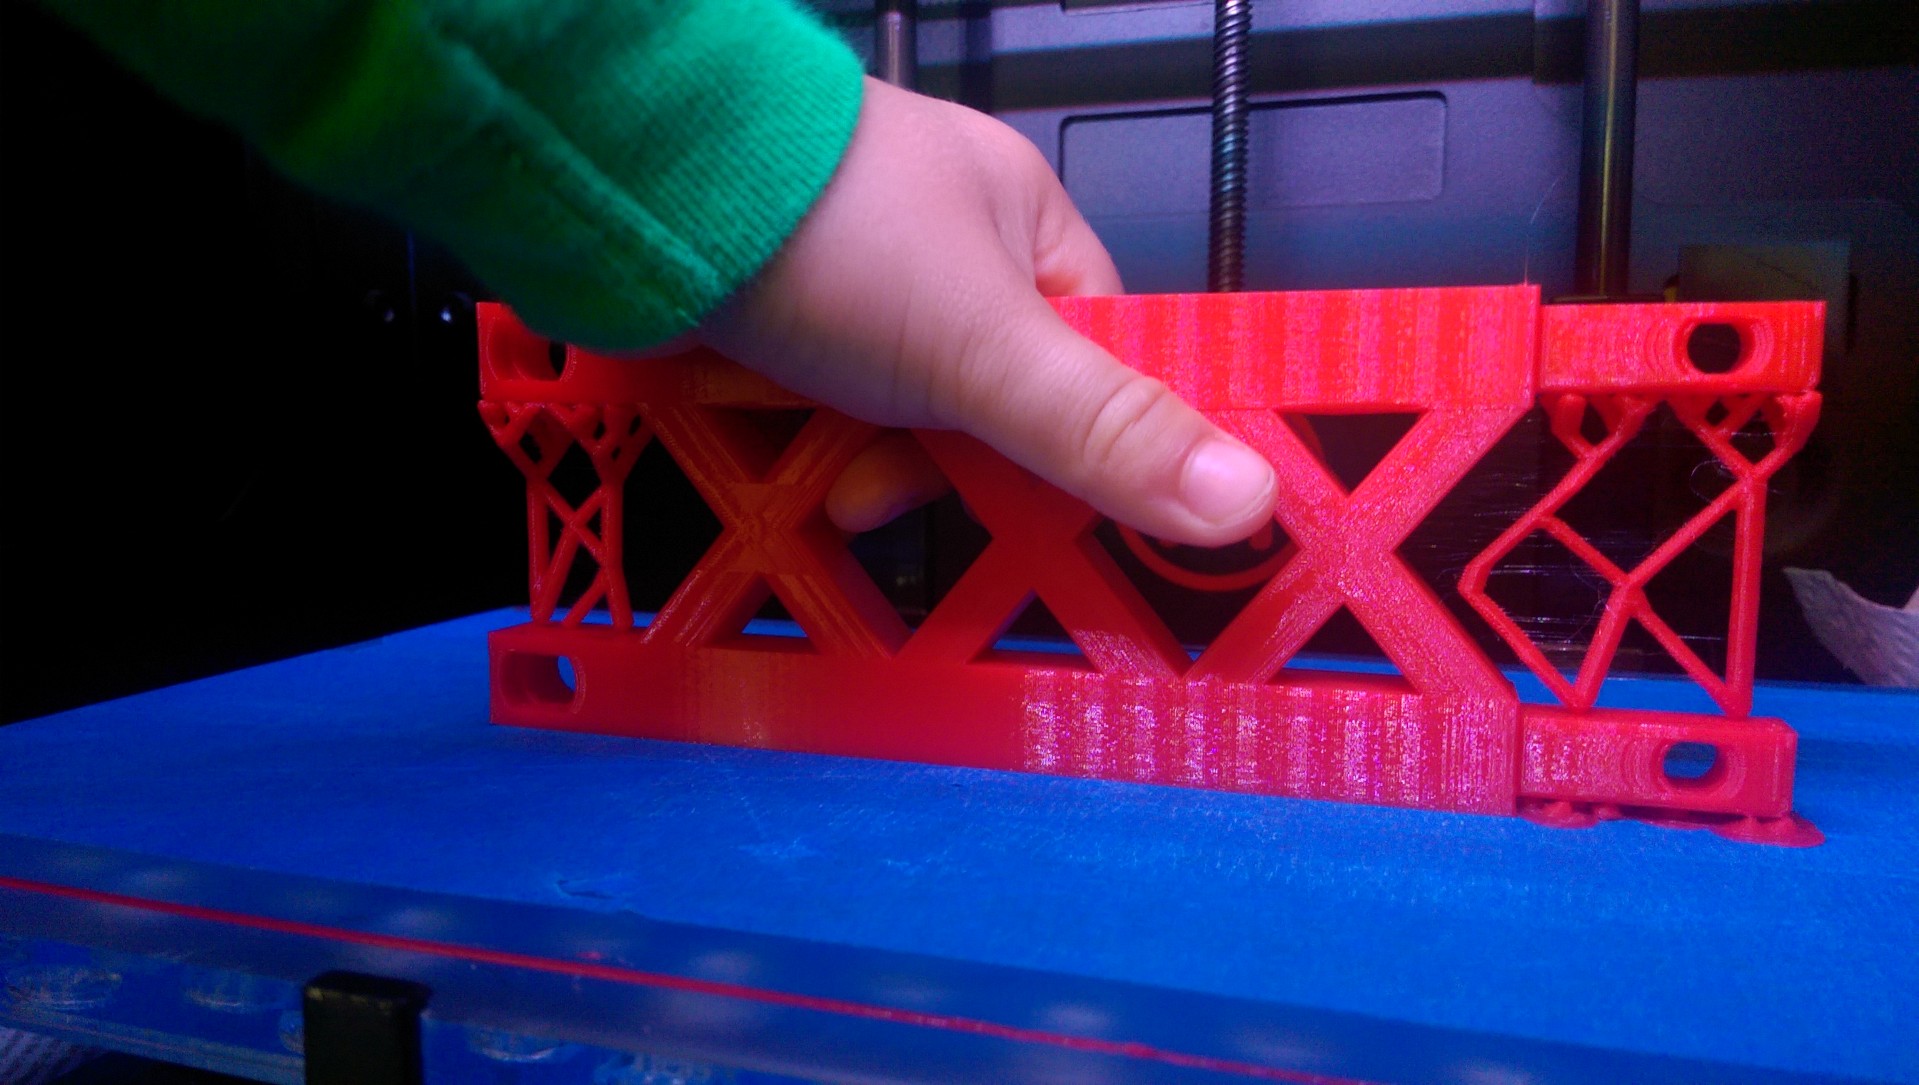
Letting the boat back out into the water, again, without coming in contact with it, required for the trailer base to be tiltable (think dump truck unloading its load). This dictated the basic single-axle design, which not only allowed for the two main rocker arms to swivel freely, but also enabled the trailer to tilt up/down, allowing the boat to simply 'slide' off of it.
Testing
Ensuring that our ideas worked, we've rigorously tested each and every element of this project before moving onto the next task. Over the course of summer 2015, we've done numerous tests – these included everything from long-term reliability and stress-testing, to off-road and launch capabilities. Each one of these tests was documented in greater detail on video, which at the end resulted in us compiling a lot of cool footage!

Miles of trails found at Coyote Point proved to be the perfect testing ground for this kind of project. Diversity of terrain, which ranged from steep grassy chutes, to harsh rocky environments [and everything in-between] ensured that our trailer would tackle the launch terrain found at our lake without any issues.

One minor issue to overcome which we have descovered during the submerge test, is that the trailer actually stays afloat better than the boat does, as such, we will have to redesign the structure of the trailer with this in mind.
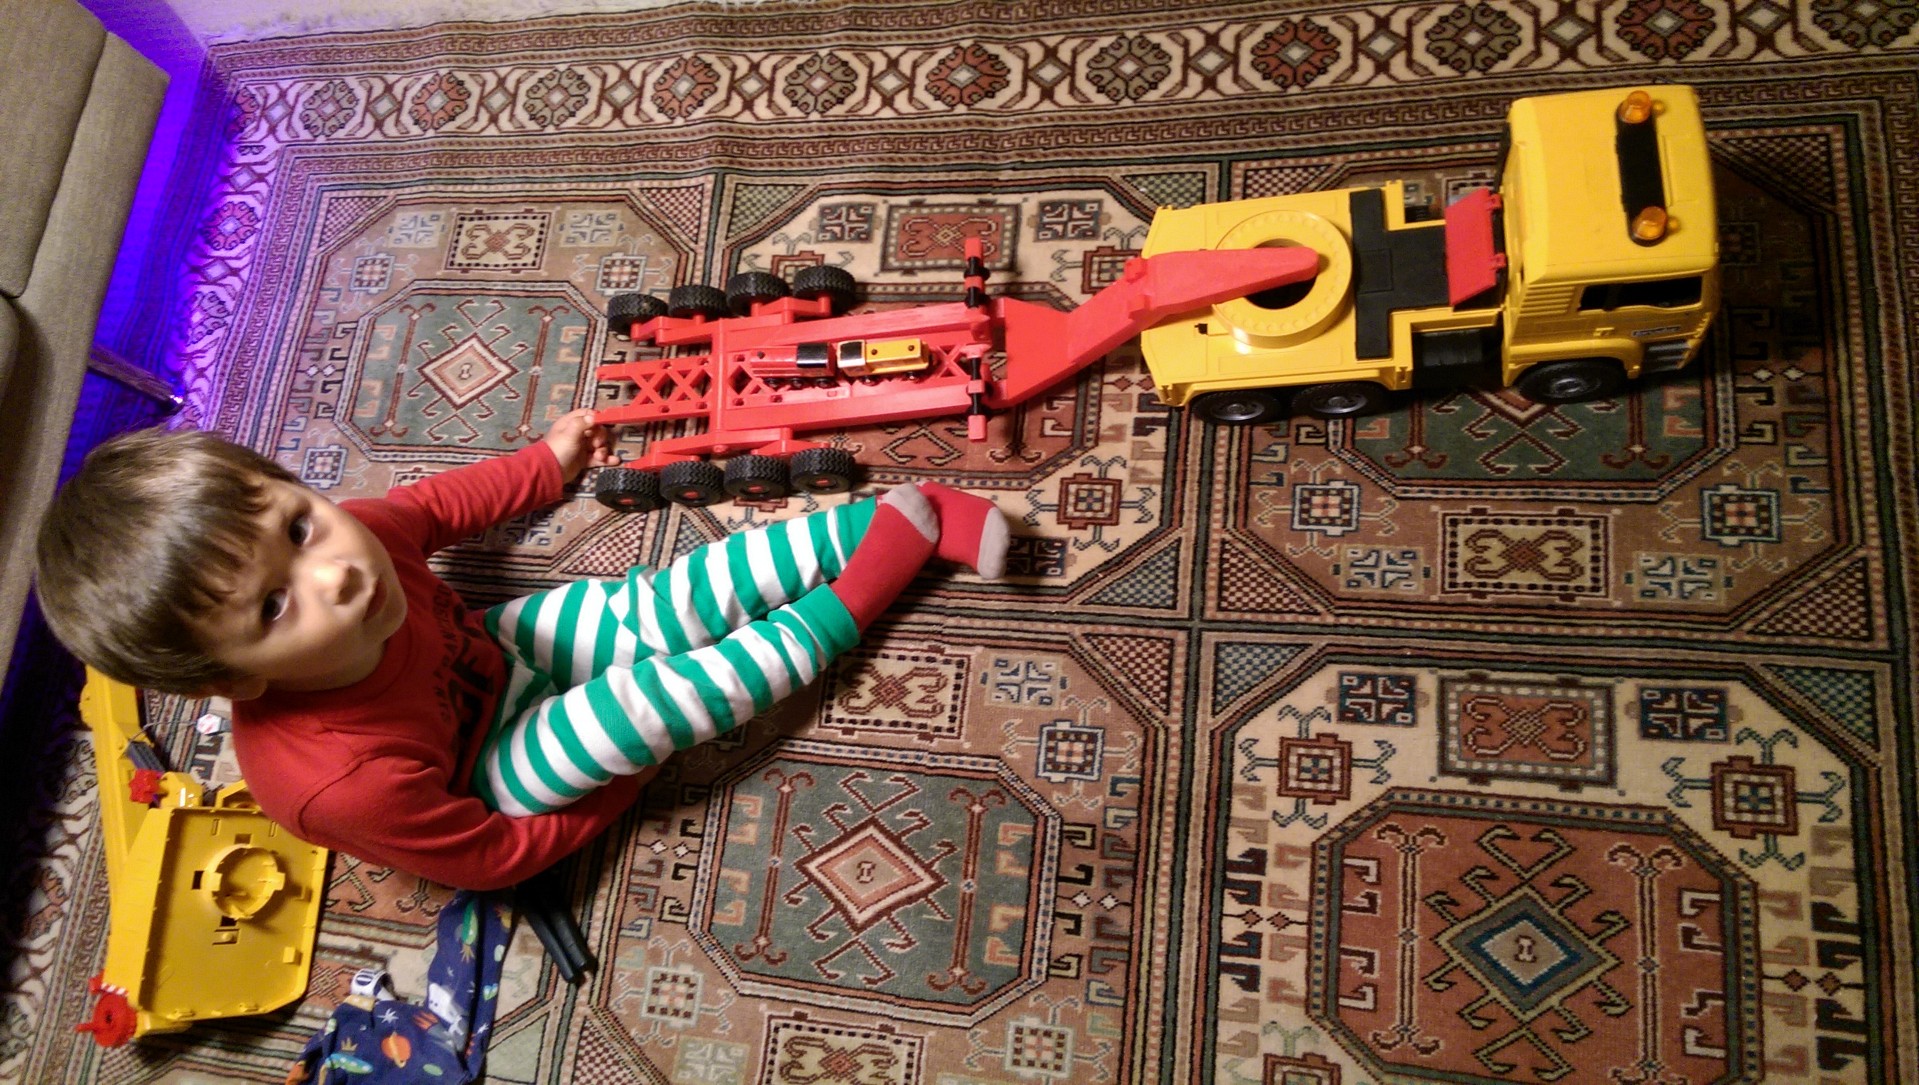
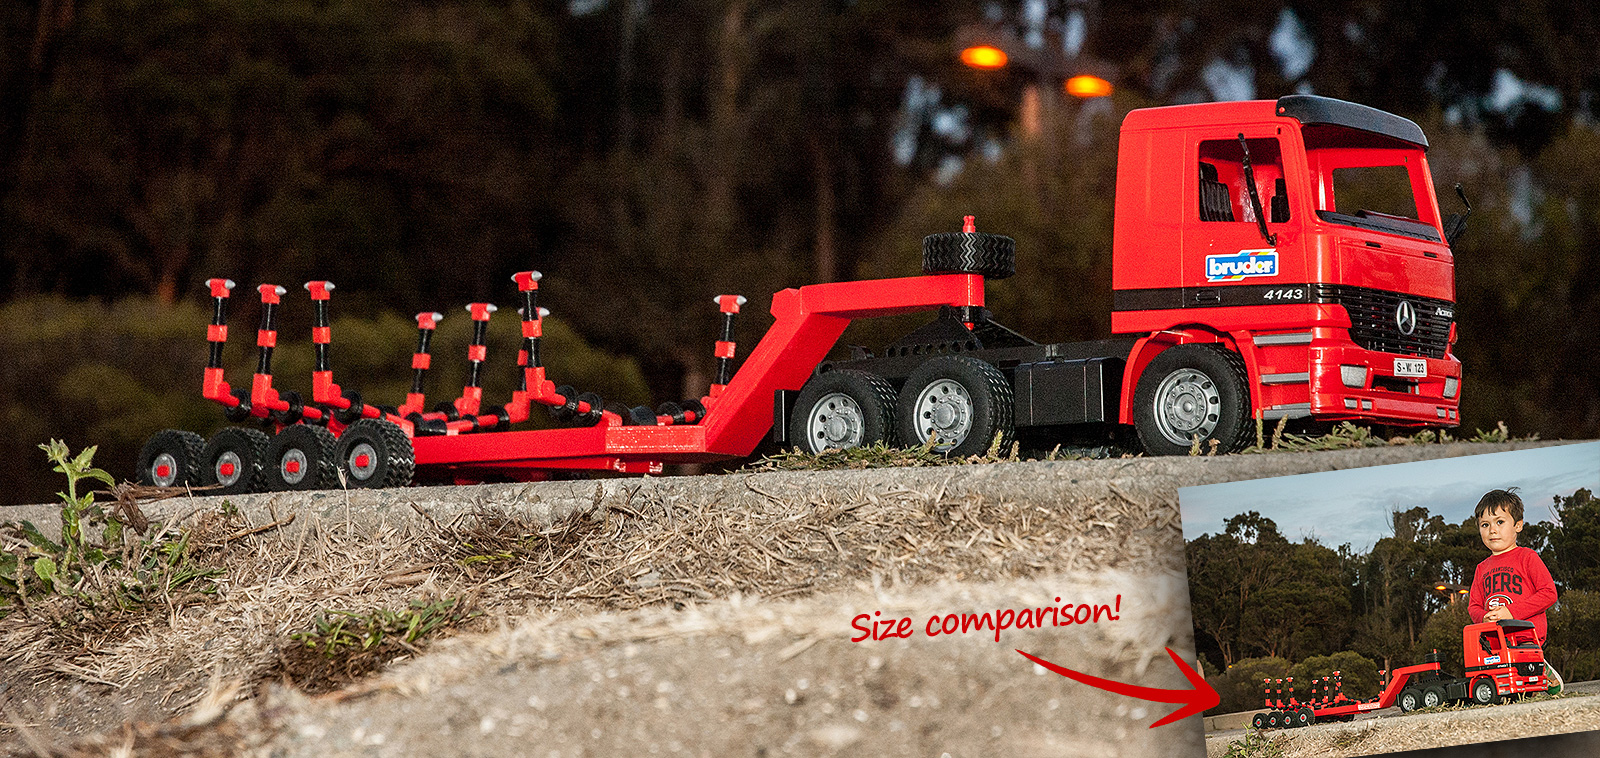
Bruder truck featuring a custom-designed trailer mount which clips right into the truck's frame without any glue.
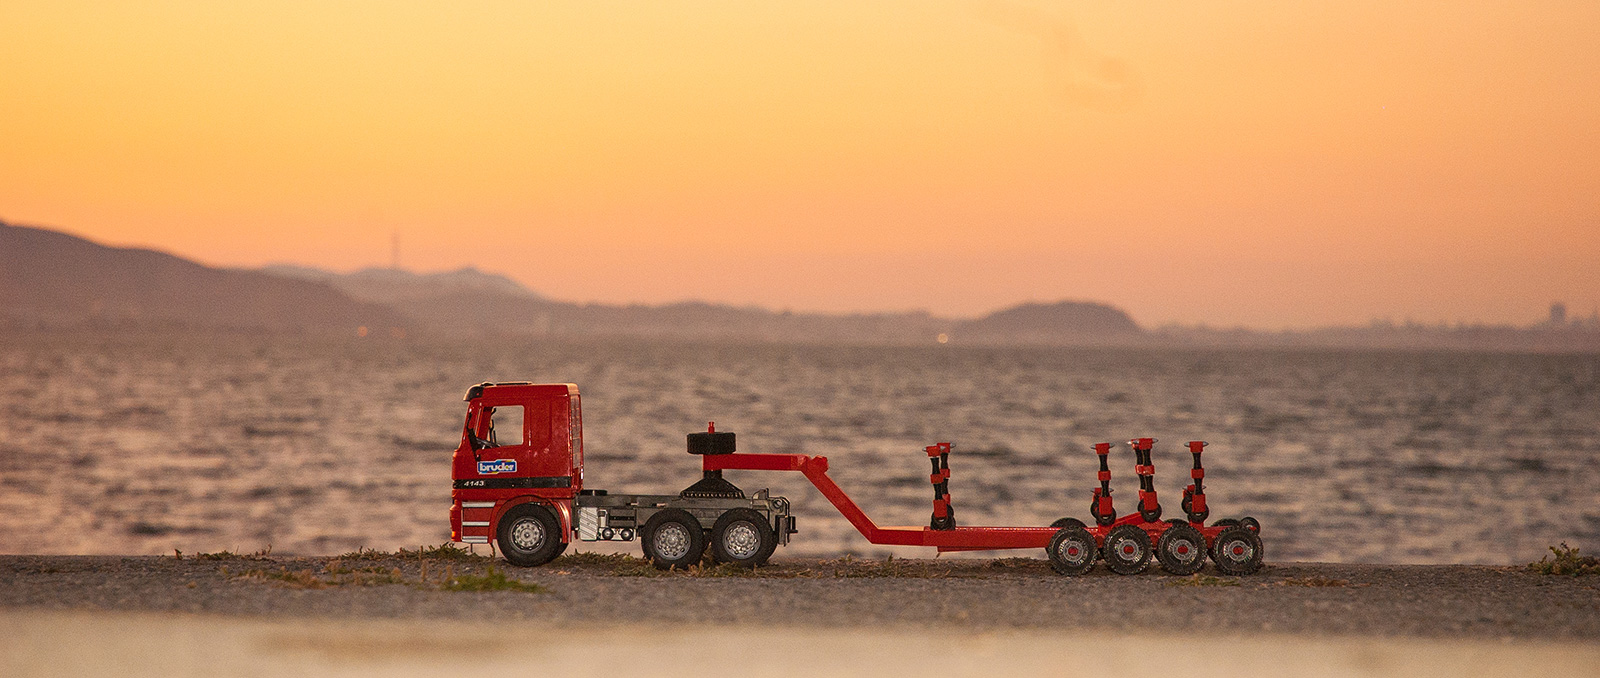
Multi-terrain boat trailer with Sutro Tower and the city of San Francisco in the background, as seen from Coyote Point.
The yacht
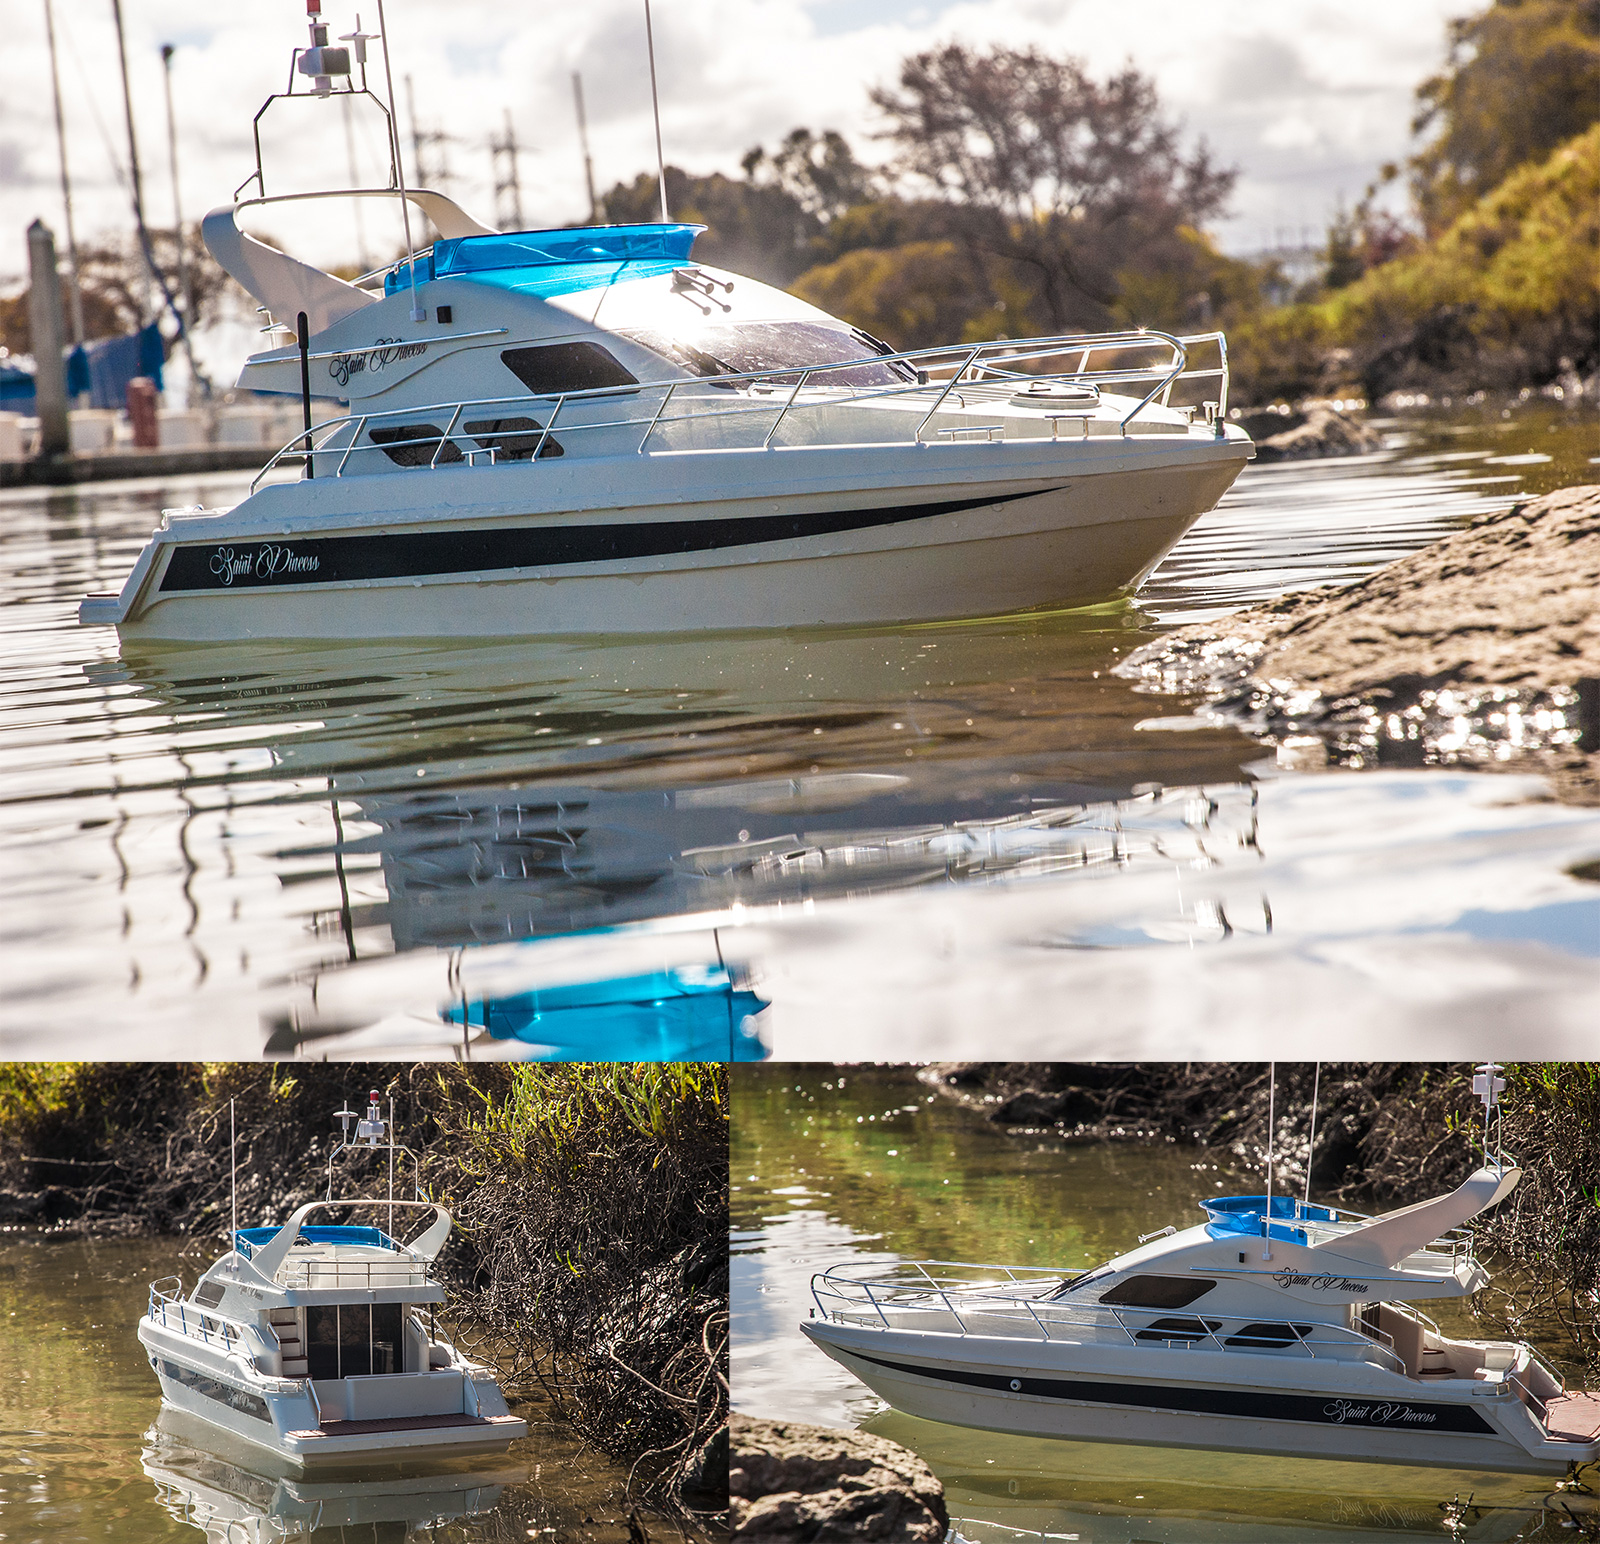
Hobby Engine Saint Princess RC motor yacht/boat which will be getting towed using our trailer! Want one for yourself? Get it right now from Amazon.com!
*If I link to Amazon, legally I have to mention this, so, this page participates in the Amazon Services LLC Associates Program, an affiliate advertising program designed to provide a means for sites to earn advertising fees by advertising and linking to amazon.com. There.
Enjoyed what you saw? Stay updated by following me.
